Trigger a Zapier Zap When QR Code Scanned
Connect ZodQR with Zapier to trigger Zapier Zap whenever a QR code get scanned. Automate notifications, logging, reporting, or syncing with external systems.
 Huong PhamUpdated: 2026-09-10
In this guide, I'll show you how to create a Zapier Zap that triggered when a vCard Plus QR code get scanned. This Zap will send an notification email using Gmail, let you know the location of the scanner and the time they scan the QR code.
How it works
1. Create a Zap
You will need a Zapier account (free account is fine), create one if don't have yet. From Zapier Dashboard, click Create > Zaps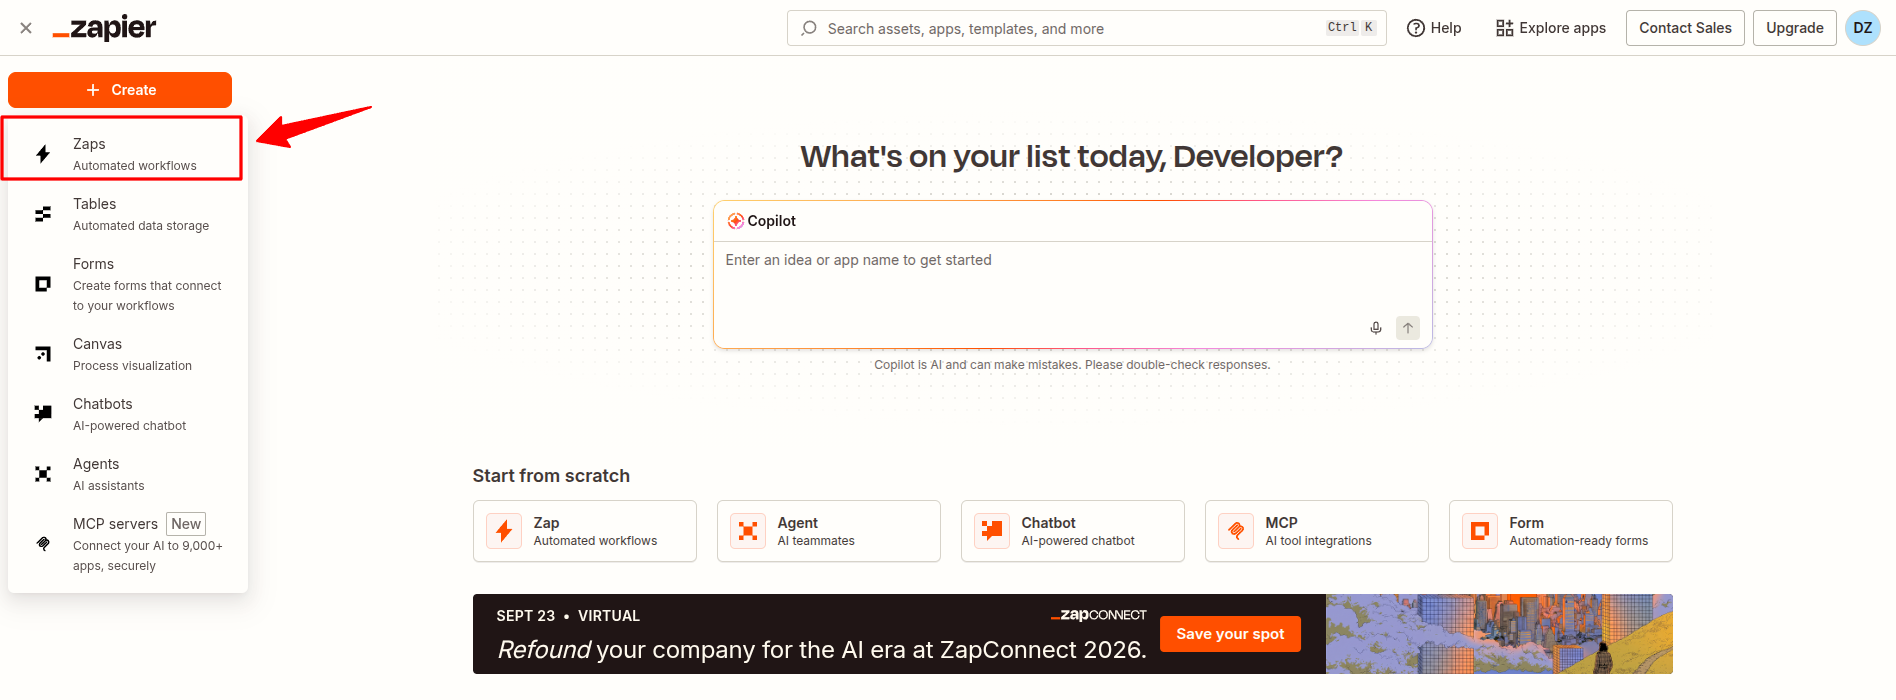
2. Select ZodQR trigger
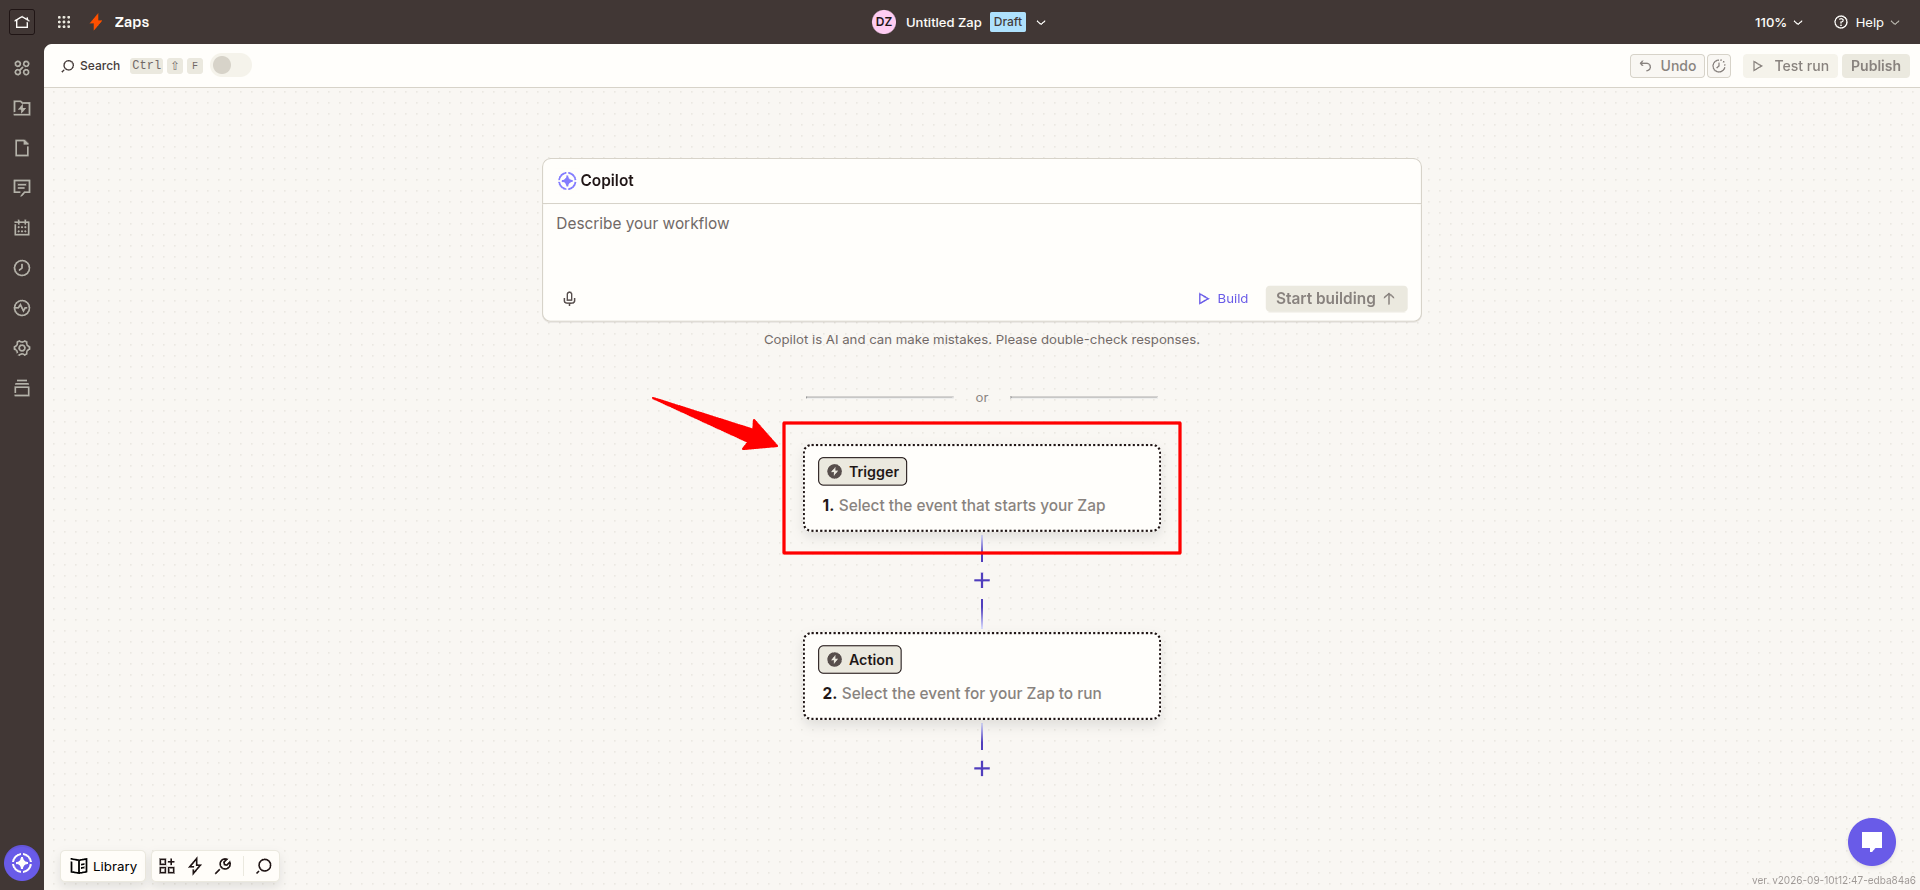
From blank Zap you just created, click Trigger to select a trigger for this workflow.
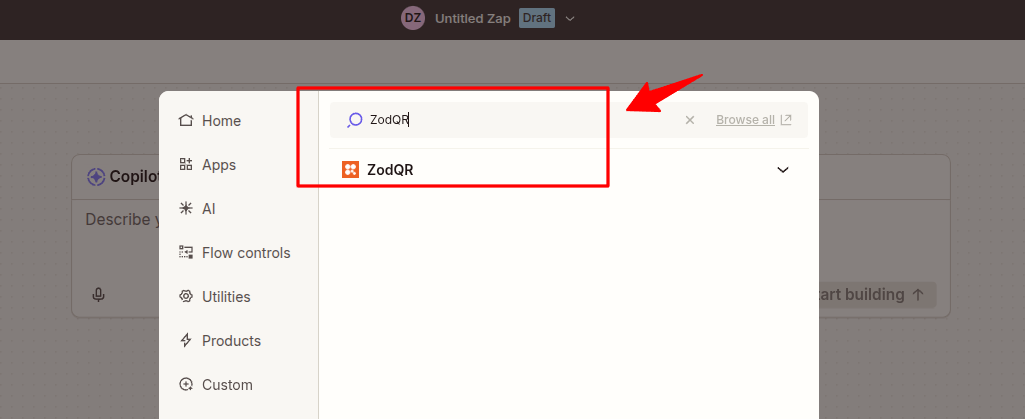
 Find ZodQR app from search input
 ZodQR app now selected. Click Trigger event in config window, then select Dynamic QR Code Scanned trigger.
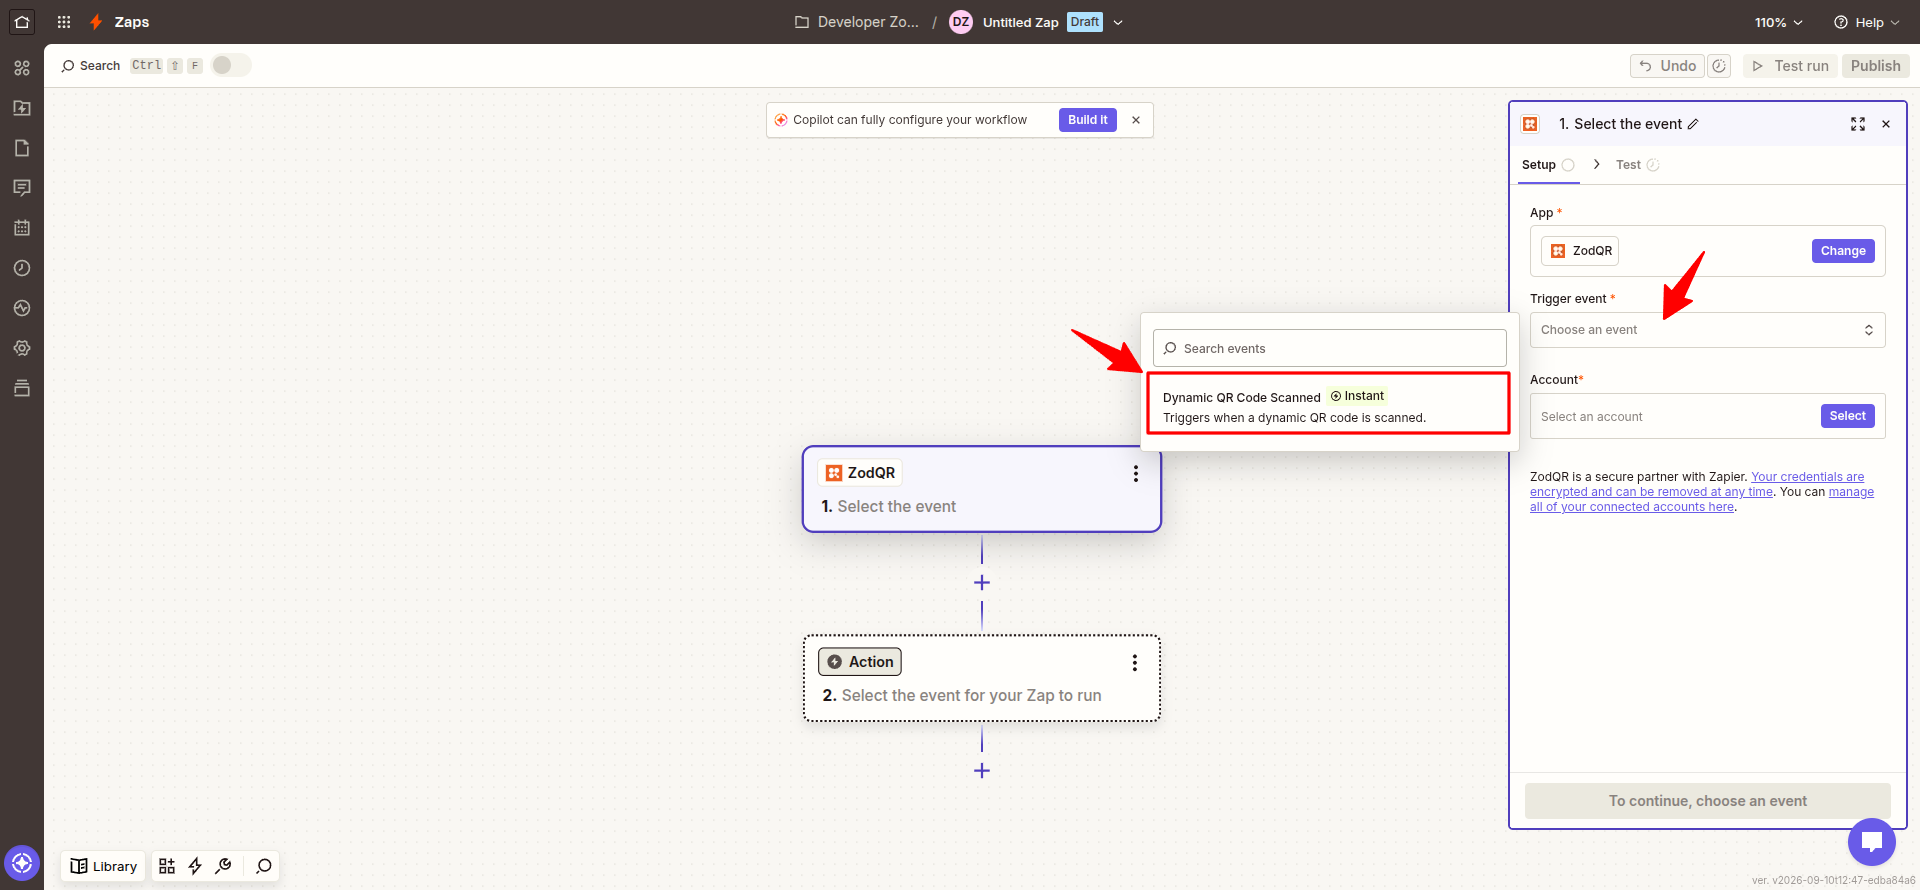
3. Connect to a ZodQR account
Click Account in config window, then Connect a new account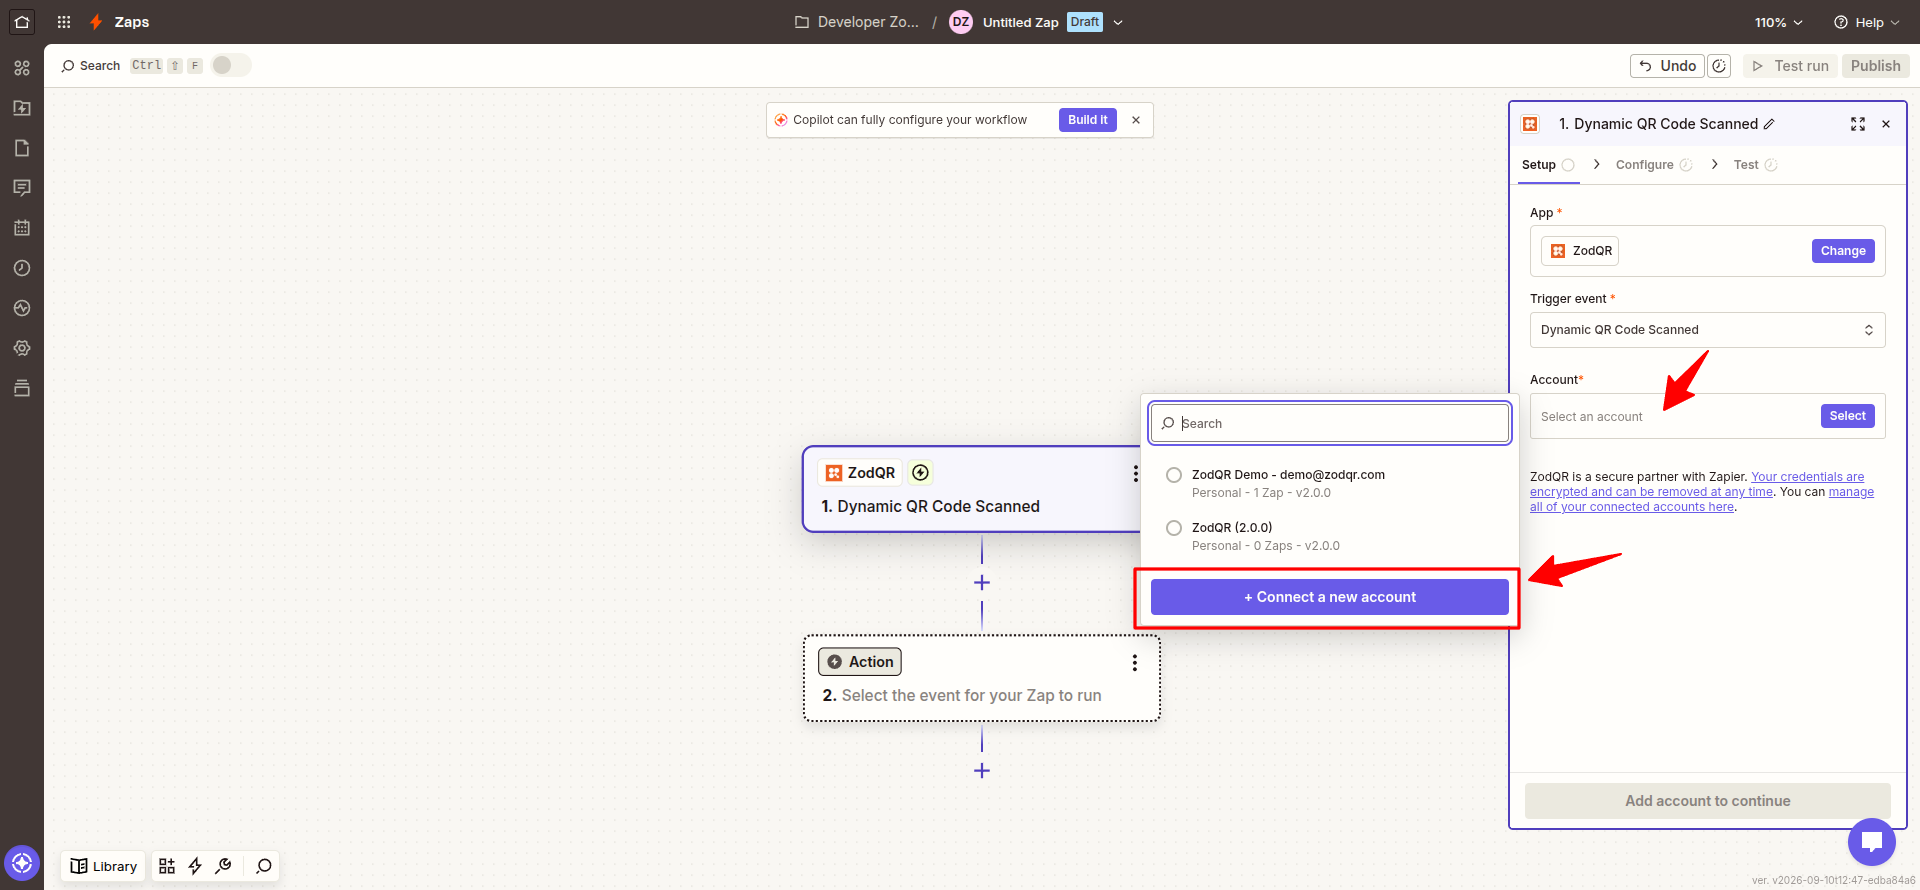 Zapier will ask you to connect a ZodQR account. Make sure that you already logged in to your ZodQR account in current browser.
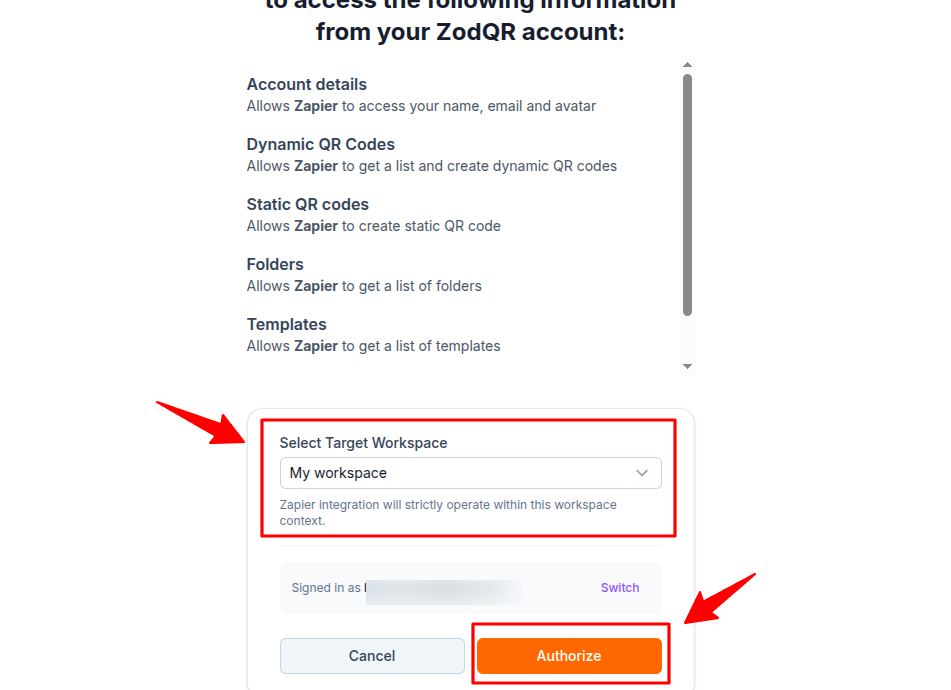
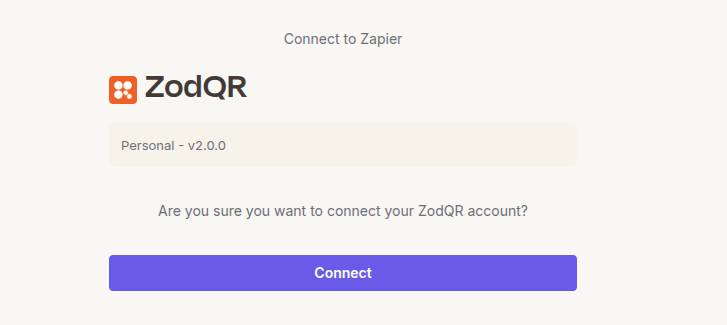 You will be directed to ZodQR OAuth page. Select a workspace you want to connect. Then click Authorize.
 After successful login, new account will appear on account list and auto selected.
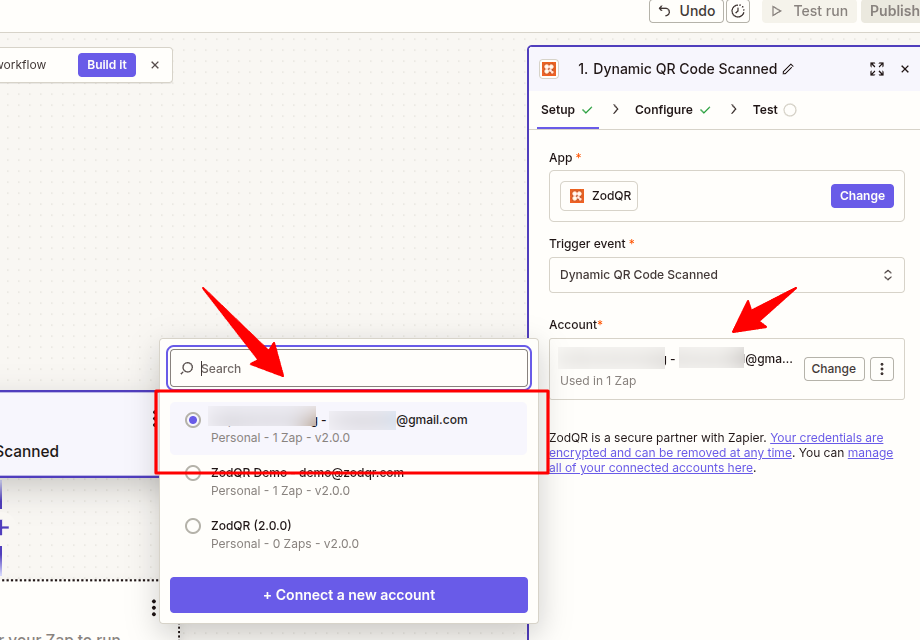 Click Continue to go to next step.
4. Select a QR code for trigger
Click QR code on Configure step. It will fetch your QR codes from your existing workspace. Visit ZodQR dashboard if you're not sure what QR to select. Here, I will select a vCard QR Code for the trigger.
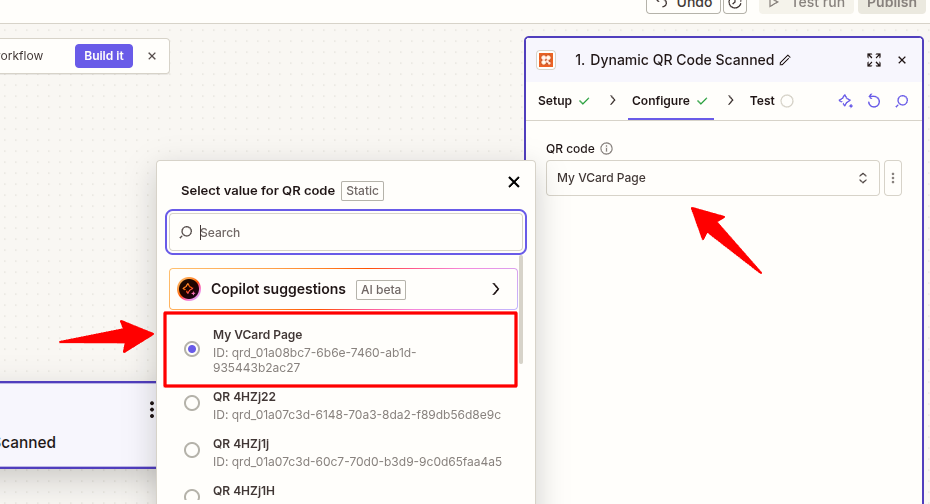 Click Continue, and Test trigger to ensure the trigger work normally. After successfully tested, click Continue with selected record.
5. Config an action after trigger
Our trigger is now working. Next, we need to select what action we want to perform right after a QR code scanned. For example, I want Zapier to send an email whenever QR code scanned.
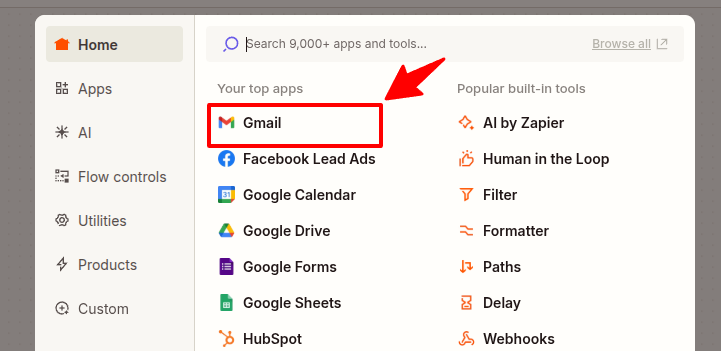
From app list, select Gmail app.
 Select Send Email from Action event.
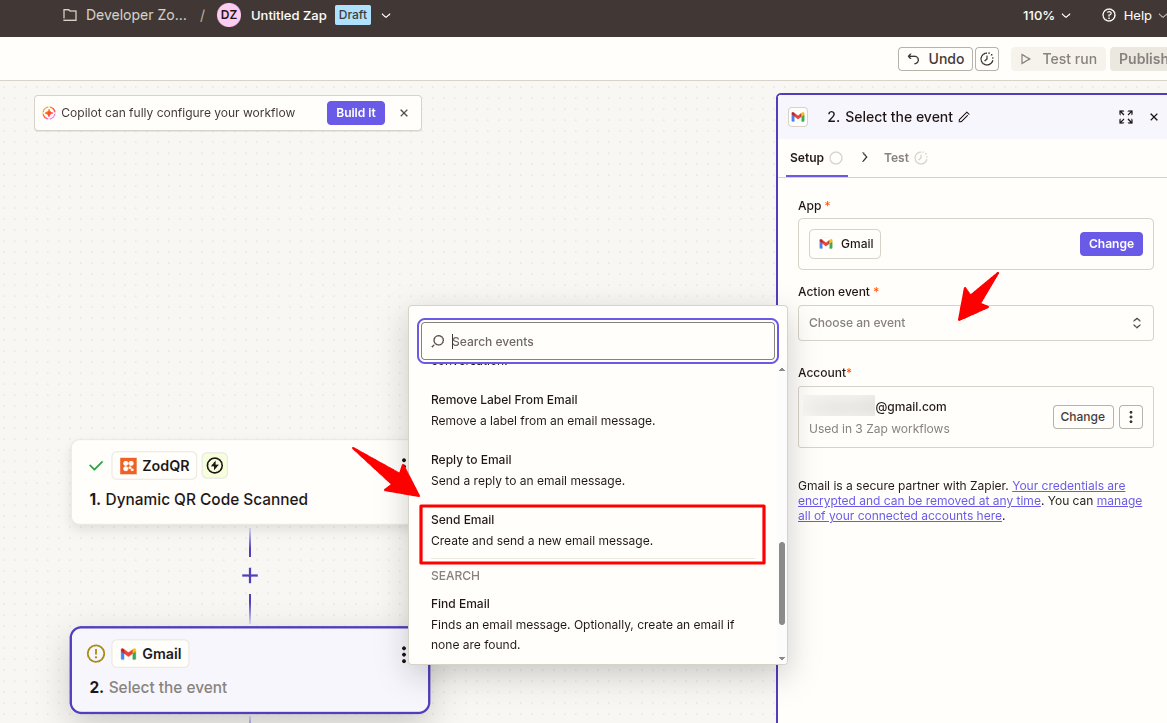 Similar to previous trigger config, you need to connect to an account from the integration you choose (this case, a Gmail account). I already have an account from my previous config. Gmail app will use this account to send email.
Config the action by enter all necessary fields. For Send email action, Subject and Body are required. For Body field, I will map data from QR scan data, and include location and time info to the email.
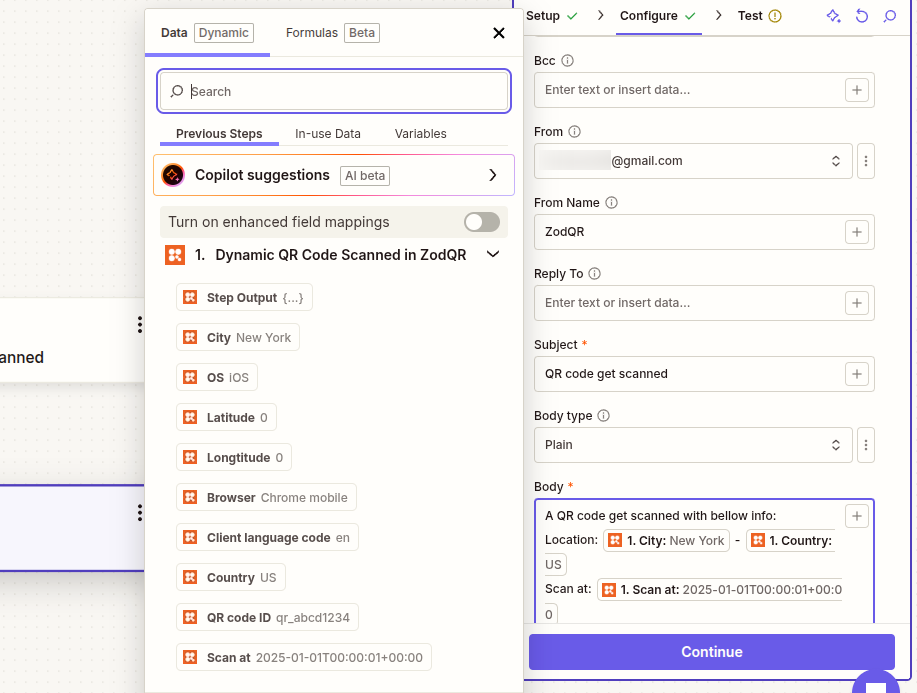 After finished, click Continue, then Test step.
6. Publish Zap
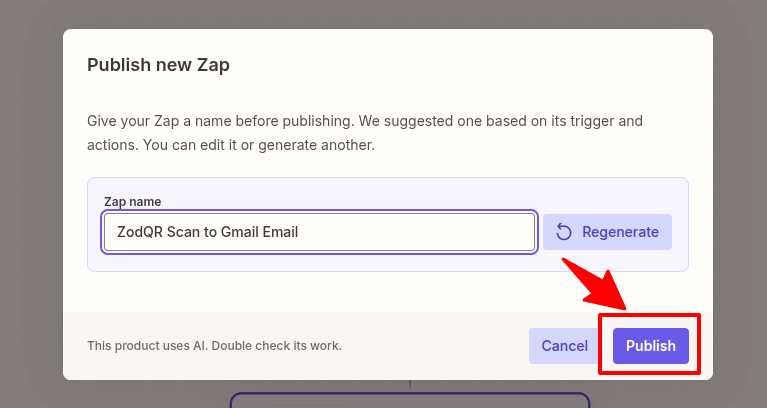
Our Zap is now ready. Click Publish and we will test our Zap when the QR code get real scans.
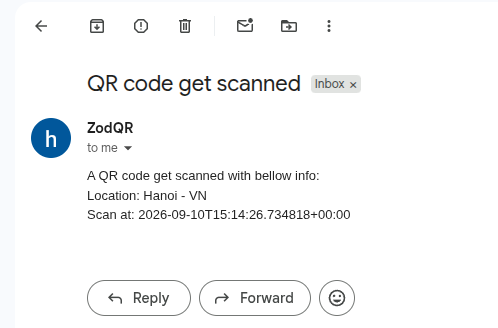
 When QR code scanned, new email like this will be sent.